|
I started this piece off at the beginning of the year, but I got distracted with other projects, so I never got to finish it. I recently picked it back up this week and this is my final product. I wanted to model this off of another piece that I saw and I think I was pretty successful. I mixed black acrylic paint and another substance that allowed it to dry as a matte finish. I traced out two flowers with a pencil and then I went over the pencil with Elmer's glue. After the glue dried, I wanted to create a gradient effect with the petals. So I chose pink/red and blue as my two base colors. I started with the lightest colors at the center of the flowers and I slowly made each layer slightly darker than the last. I did this by using darker pastels; I also added brown to the last layer of pink petals and purple to the last layer of blue pastels. I created the center of the flowers by focusing yellow at the very center and mixing in some orange and red towards the edge of the centers. At the end, I tried to erase as much of the pastel that got on the black as I could. If I could go back and change somethings, I would definitely use hot glue instead of Elmer's glue. I feel like the hot glue would dry thicker than the Elmer's glue and that was the look I was initially going for. In addition, I think I would wait to paint the black background until the end. I was not able to get all the pastel off that got on the black and that was slightly frustrating. I think the piece still turned out well, but I believe a completely matte black background would have looked nicer. 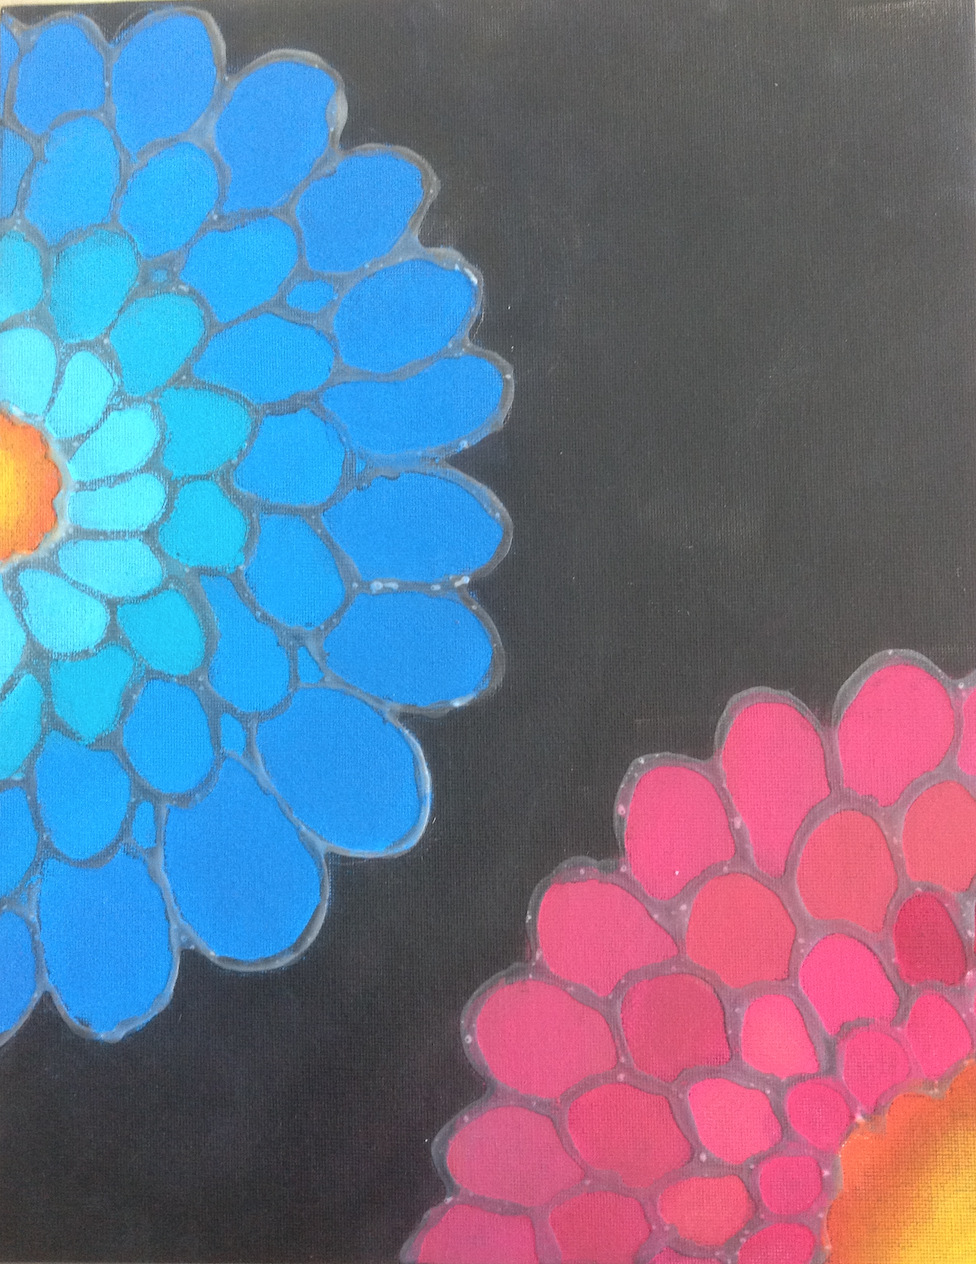
0 Comments
I originally knew I wanted to do a string art piece, but I wasn't sure what I wanted to do it of. We looked up various pictures of string art and we came across one that was of the United States. We decided to try to recreate it, but we put our own twist on it. The original string art piece was just on a completely grey piece of wood, but we changed it so the background was blue and the United States was green. We sanded down the wood and part of the paint that was on the piece of wood from a previous project. We then filled in any wholes that were in the wood with wood filler. The wood filler was left to dry and the excess wood filler was sanded off. We traced the outline of the United States with sharpie. We then painted the United States green and the rest of the wood was painted blue. The nails were hammered into the wood along the sharpie outline of the United States. The yarn was used to string throughout the nails on the board. The only issue we ran into was when we were nailing the nails into the wood. Sometimes, the nails would bend as we were nailing them in or they would become loose. We would have to hammer in the loose nails, and completely replace the bent ones. There was no way to really resolve the bent nail issue since it was just a result of nailing in the nails at a weird angle. We could resolve the loose nail issue by checking if each nail was thoroughly nailed in before moving onto the next nail. 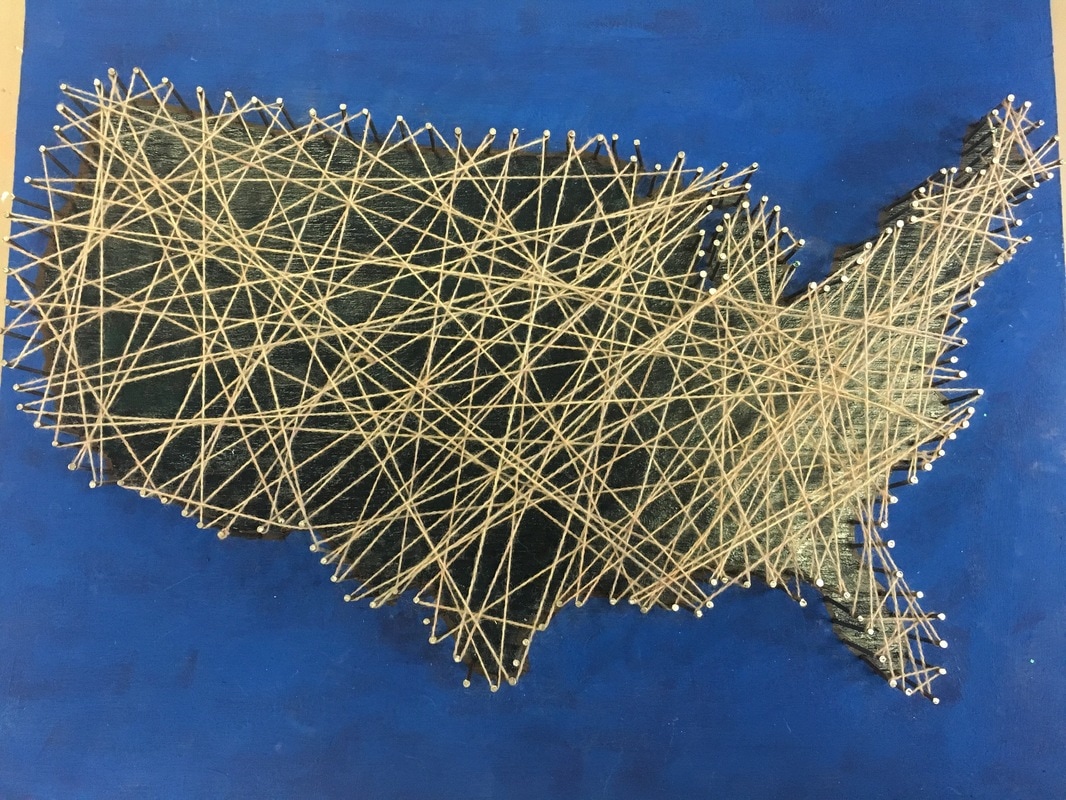 I spent the majority of the past semester working with glass. When I started my glass piece, I had absolutely no prior knowledge regarding cutting glass, glass placement, and grouting. I started the project around October and I finished it just before Christmas break, so I had plenty of time to learn new skills, make mistakes, and learn from my mistakes. At the beginning of my piece, it took me a long time to just cut out the four numbers. By the end of my piece, I felt like I was making significant progress in a much shorter period of time. The skills that I picked up on definitely helped me as time went on.
I did want to finish my piece before Christmas break since it was a present, but I do believe it would have been beneficial to do a small glass piece prior to creating the larger glass piece that I finished. I do not regret doing it the way that I did it, but I do believe it would have made the process significantly more efficient and easier since I would have started it with a small background of working with glass. I found a picture of a canvas very similar to the one that I did on Pinterest. On the canvas, the person who created the piece used paint for the whole thing. Originally, I knew that I did not want to do my entire piece with black and white paint because I always have a difficult time painting words. So I knew that I wanted to someone write my words on with either a paint pen or a sharpie I started off by painting my white canvas with a white paint just to make sure the canvas has an even surface. After the paint dried, I traced out where I wanted the black and white keys with a pencil. I tried using a ruler for most of the keys, but I eventually ended up just eyeballing the white keys at the end because I didn't compensate for all of the white keys. I was originally thought that the piece was going to look off because I eyeballed the width of the white keys, but it ended up looking fine in the end. I painted the black keys and the black lines for the white keys that didn't have words with black paint. I think traced the words with pencil and went over them with black sharpie. The black sharpie didn't make the words as opaque as I wanted them, so I carefully went over the words with a black paint and a very thin paint brush. At the end, I went over any pencil smudges that wouldn't erase off of the canvas. By the end of this piece, I realized that words are difficult to write on canvas boards since they have a textured surface. If I need to put words on a canvas board in the future, a paint pencil would be more efficient because the paint would be able to fill in the textured surface of the board. 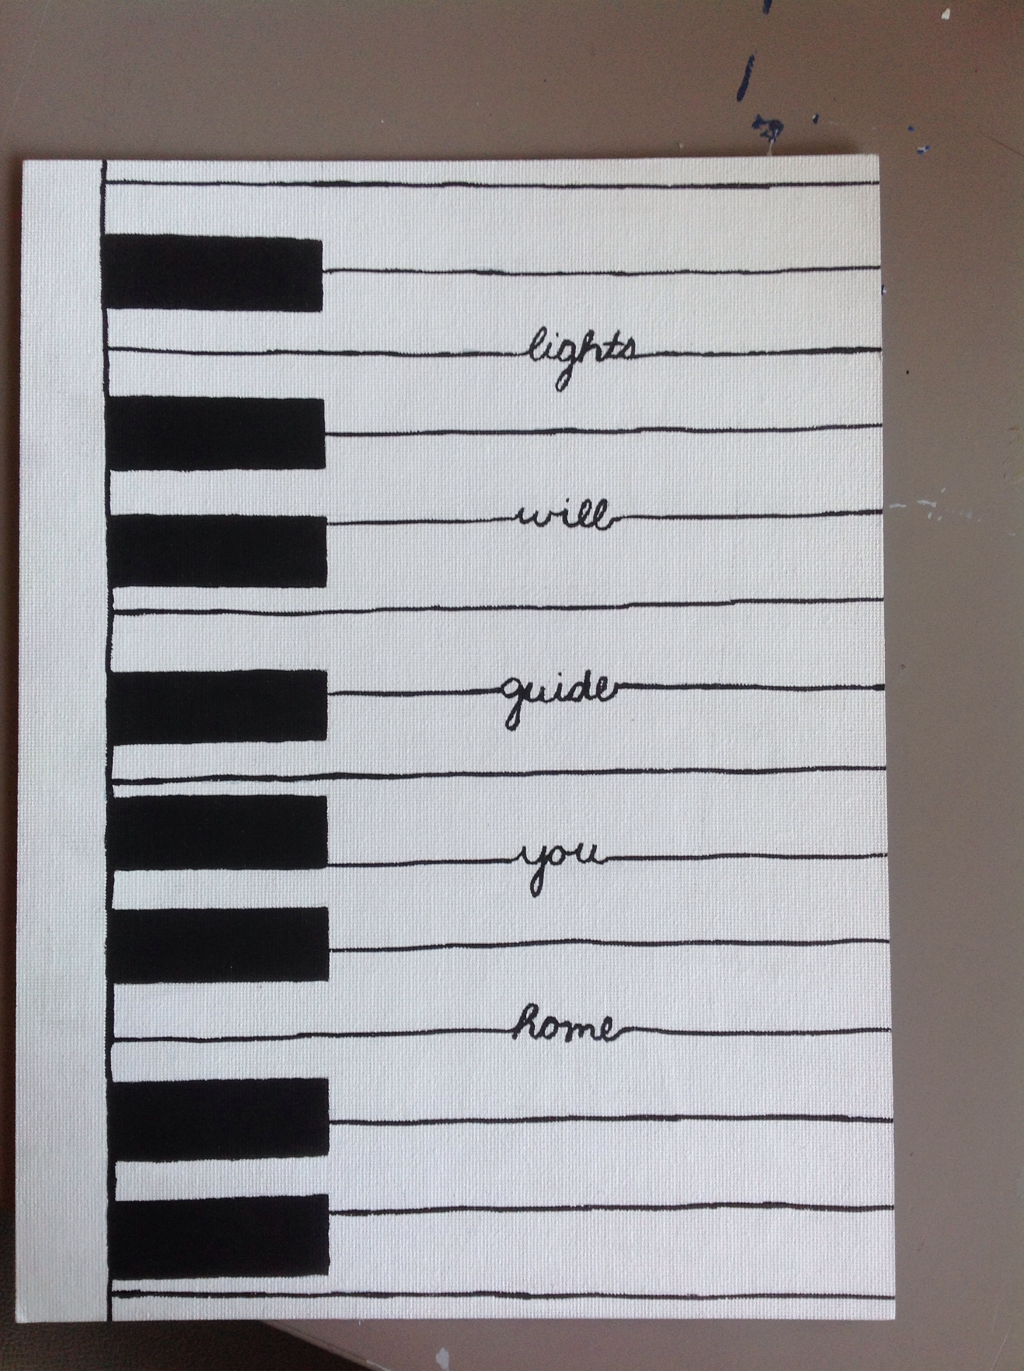 |
